
Part 1 - Begin here

Thank you for your purchase!
We’ve done our best to make the best keyboard possible at the price point.
To get the best out of it, it is important to assemble it correctly.
This build guide outlines the exact steps to take to get it built.
Warning: Damage, imperfections, etc. due to disregarding the build guide instructions cannot be accounted for. We won’t be able to refund or replace parts if you decide to build it by gut instinct and mess up somewhere.
What’s in the box
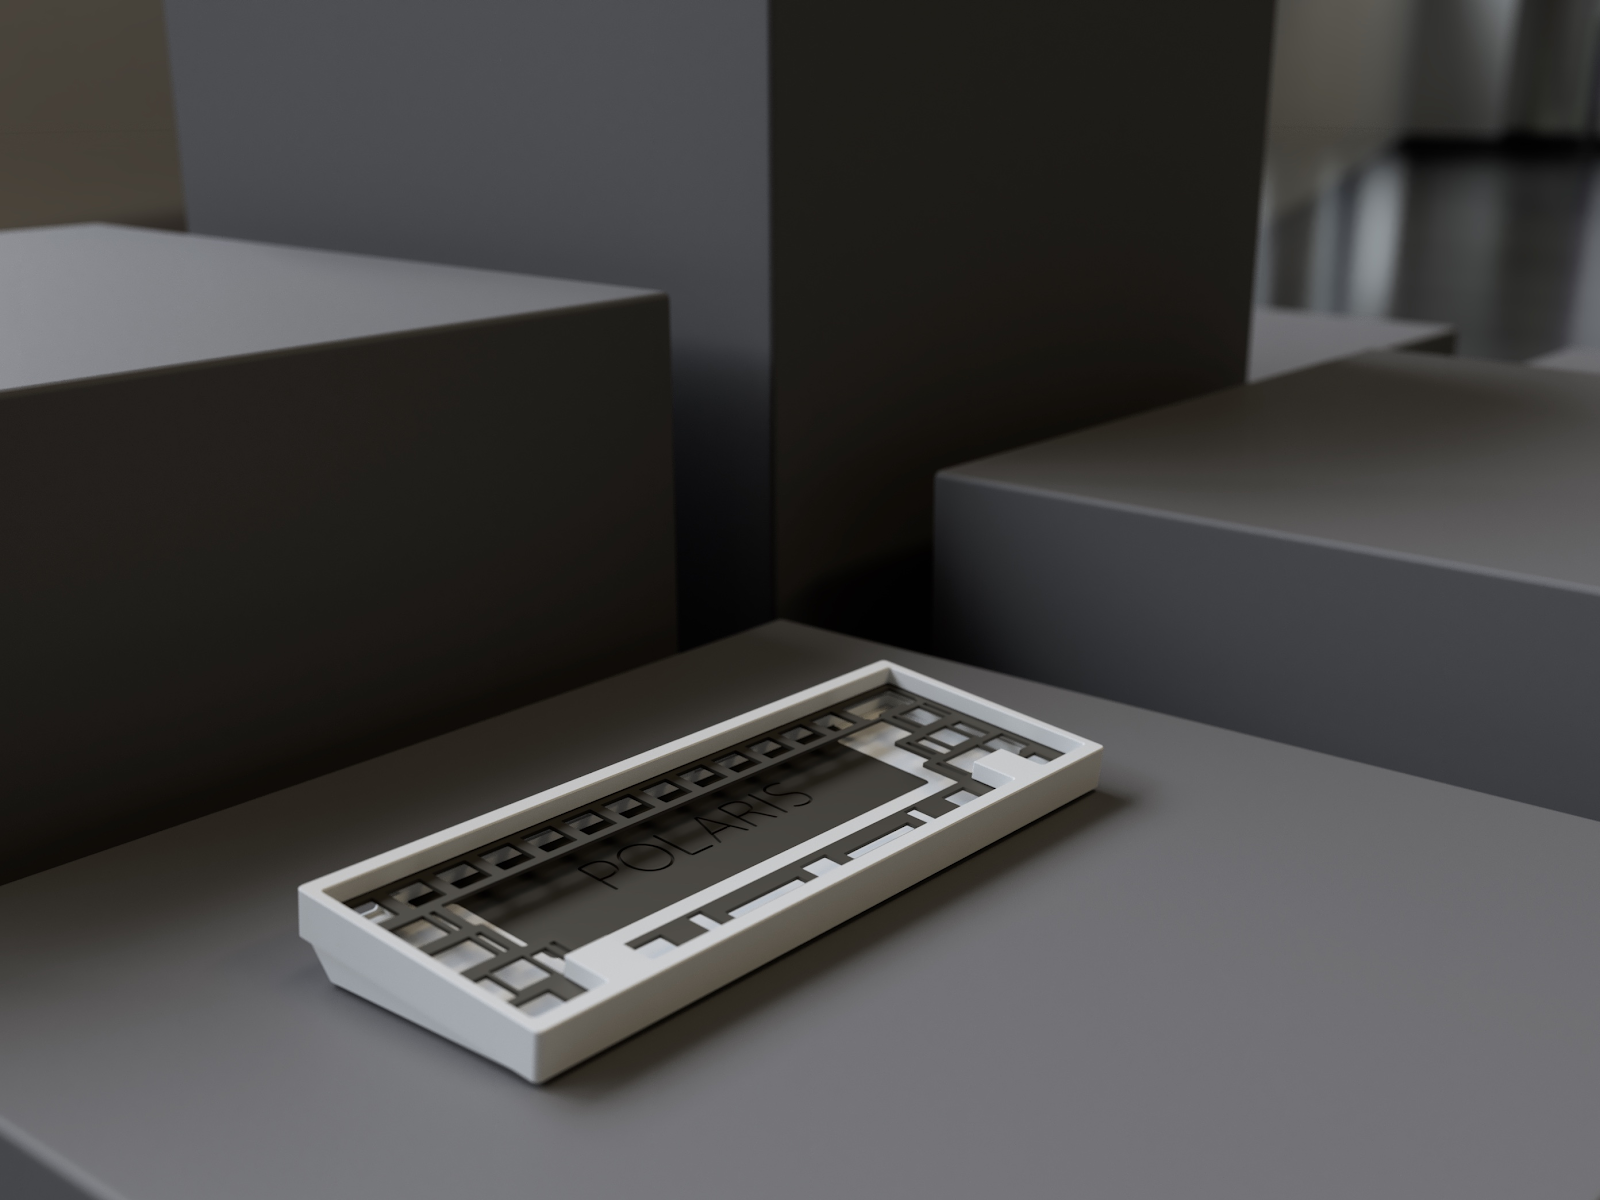
- The Polaris case, plate, and PCB,
- A set of long gaskets,
- A set of small gaskets,
- The foam layers, one for below and one for above the PCB,
- A wafer of stabilizer shims (break apart as necessary),
- A set of extra weight screws to suit your color preferences,
- A large hex key and a small hex key (2.0mm and 1.5mm respectively),
- Some rubber feet,
- A lot of custom cut foam,
- The piece of paper warning everyone to read the build guide.
Parts and tools necessary for building
- Enough switches to cover your preferred layout, likely lubed and tuned,
- Stabilizers for all the larger keys of your preferred layout,
- Keycaps of your choice,
- A USB-C cable,
- Soldering equipment - iron and solder at minimum.
Tools that aren’t required but are useful
- A pair of tweezers,
- Some sort of desoldering equipment in case mistakes happen,
- Possibly a pair of flush/wire cutters if necessary,
- Some electrical tape or similar (see the very bottom acoustic tuning section later).
Before we begin
Just a few quick heads up regarding some things you should know.
- Refrain from wiping down the board with strong chemicals such as isopropyl alcohol, especially for the brass parts. This will ruin the matte coat and leave you with a semi-tarnishing, semi-glossy tacky mess.
- Shocking the board with an ESD discharge may permanently damage the circuitry inside. Always make sure you discharge built-up static before using the board, especially so before handling the bare PCB.
- For polycarbonate case buyers: Poly is an absolute scratch magnet. It’s simply impossible for it to not get scratched, but do be careful about nearby objects if you ordered this variant. Also, be extra careful to not overtighten the screws.
- Read through the build guide once before actually carrying through with it, so you have a good idea of what’s upcoming at the next step. You can navigate the book using the panel on the left (large screens) or in the info tab (mobile), or use the link at the end of each part.
- The custom cut foam and perfectly sized box is useful for storing and/or reselling the board. We recommend that you keep it; otherwise please recycle the box for the sake of our planet.
Ready?
Let’s begin.