
Part 4 - Installing switches and stabilizers
- Prepare and tune the stabilizers you need for your planned layout.
Prepare and lube the switches as well. - For stabilizers that sit loosely such as Cherry clip-in or GMK screw-in, insert the provided stabilizer shims onto the stabilizers, with the side having the shiny rectangle facing up. For firmer sitting stabilizers such as Durock and Everglide, this is not necessary.
- Install the stabilizers onto the PCB. An example showing the shim use is shown.
Note: Due to a mistake on our end, when using 2.75U shift and 2.25U enter, the inserts may collide. In this case, clip the overlapping bits with a wire cutter or similar. This should have no negative effect on the shims actually doing their job.
Note 2: Some extras batch 2 units supposedly shipped with KBDfans' stabilizer gasket shims. Although one is flexible and the other is rigid, there should be no difference in functionality or feel. Apply them in the same location (under the stabilizer) as the rigid shims. - Snap in the switches to the plate.
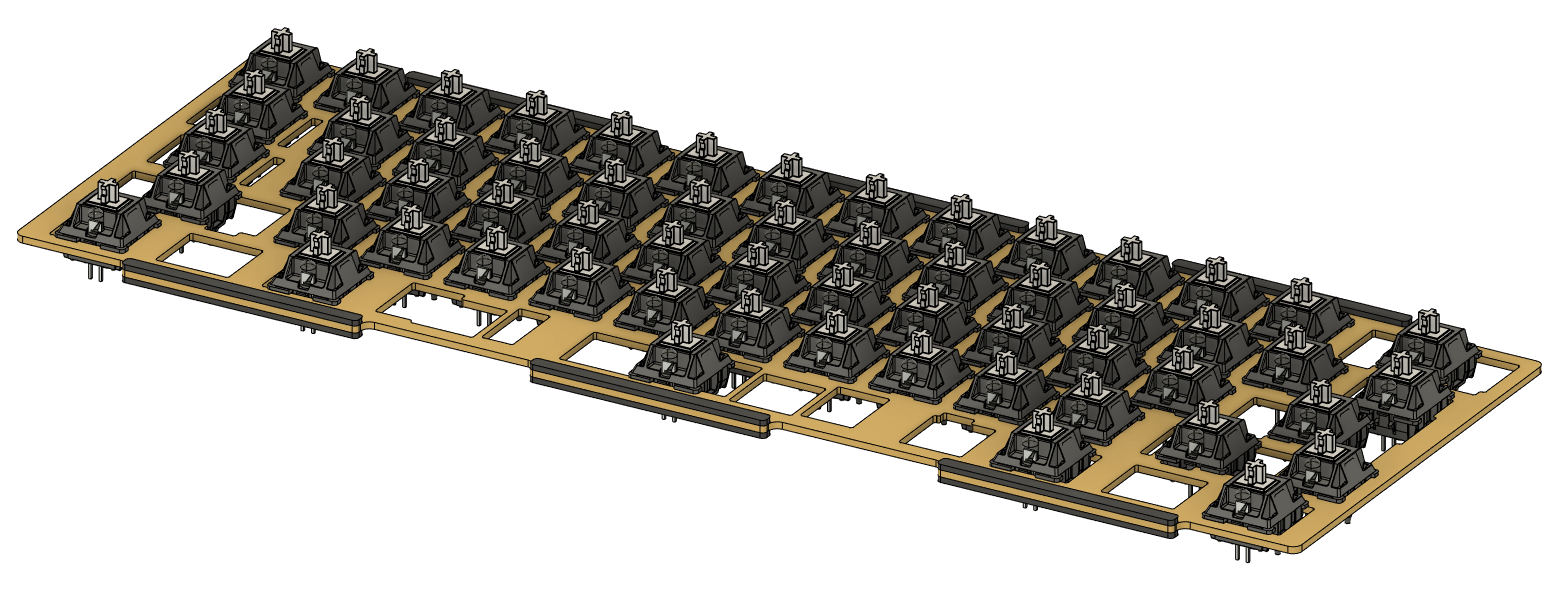
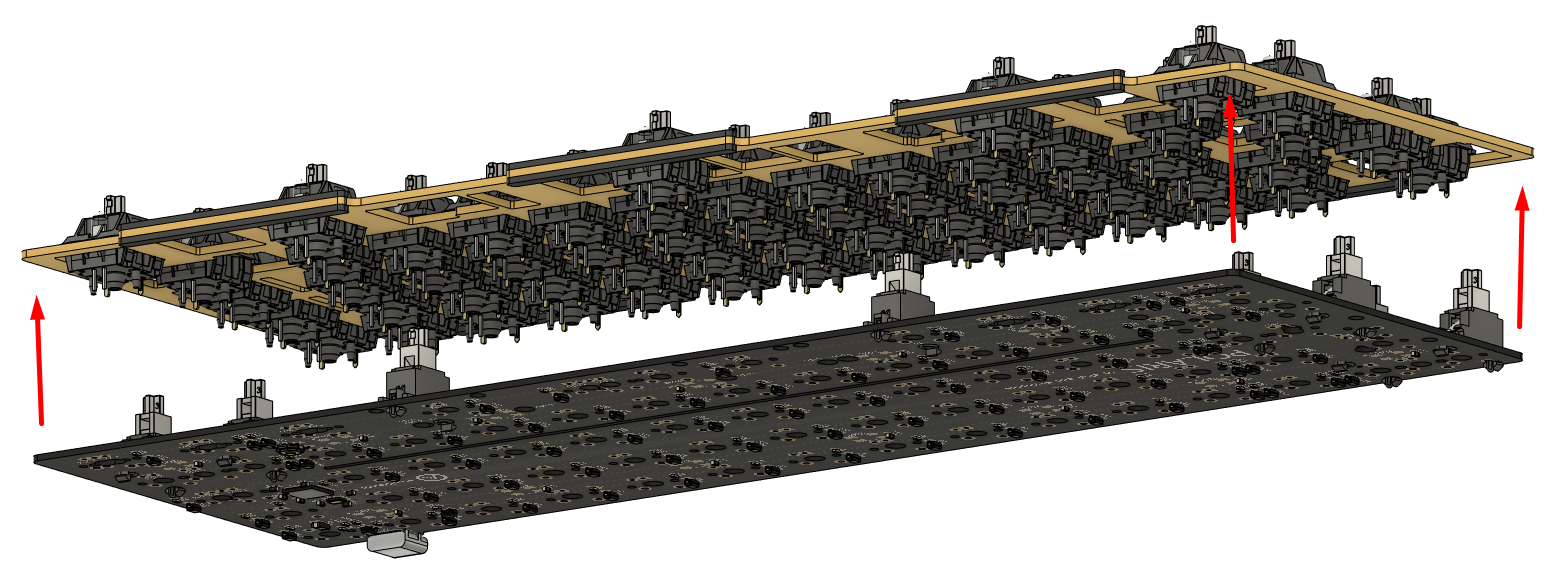
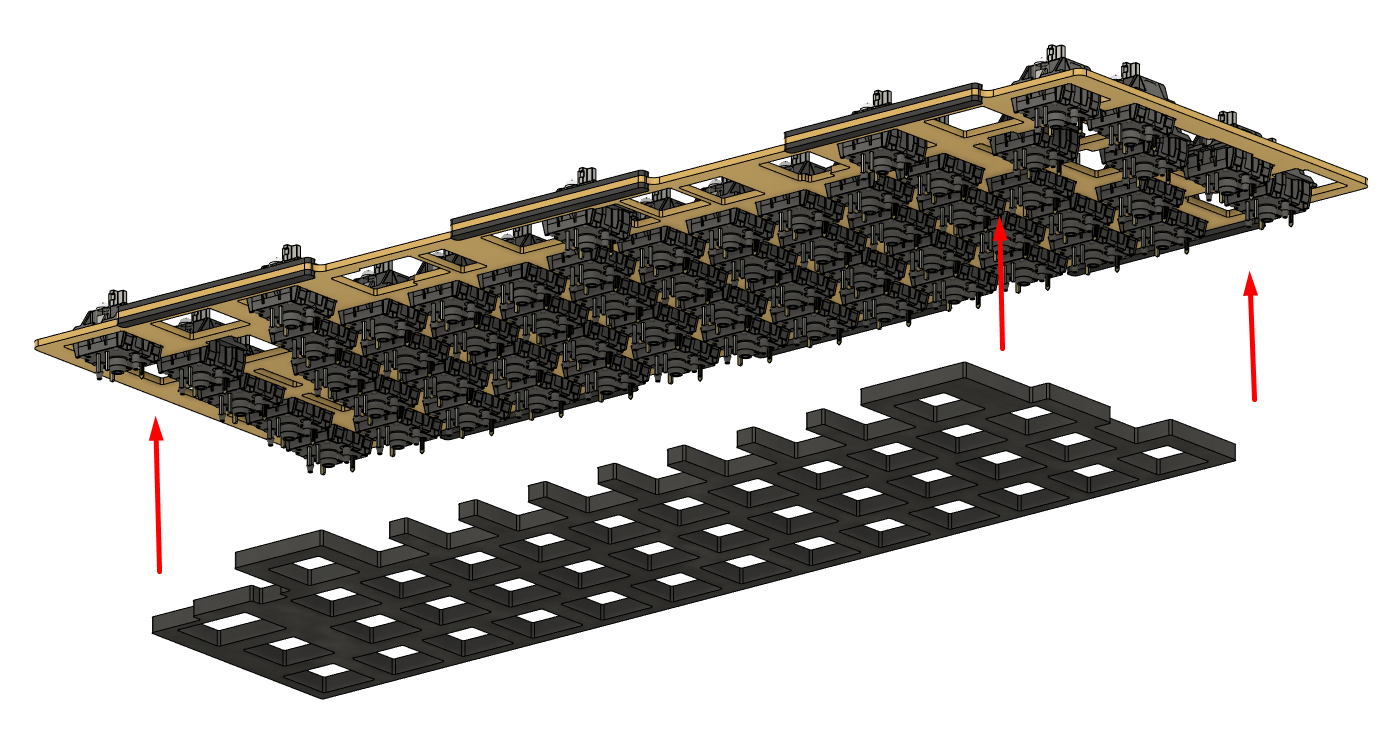
- Try a “test-fit” by inserting the PCBs against the switches and pushing so all switches make firm contact against the PCB surface. Throw on some keycaps and type a bit, then repeat with the PCB-plate foam layer inserted. Depending on which sound you like better, either leave in or leave out the mid-foam.

- Make sure all switches are making firm contact against the PCB, and solder the the switches in. Insert and solder LEDs if you prefer, with the longer of the two leads going through the circular pad on the PCB.
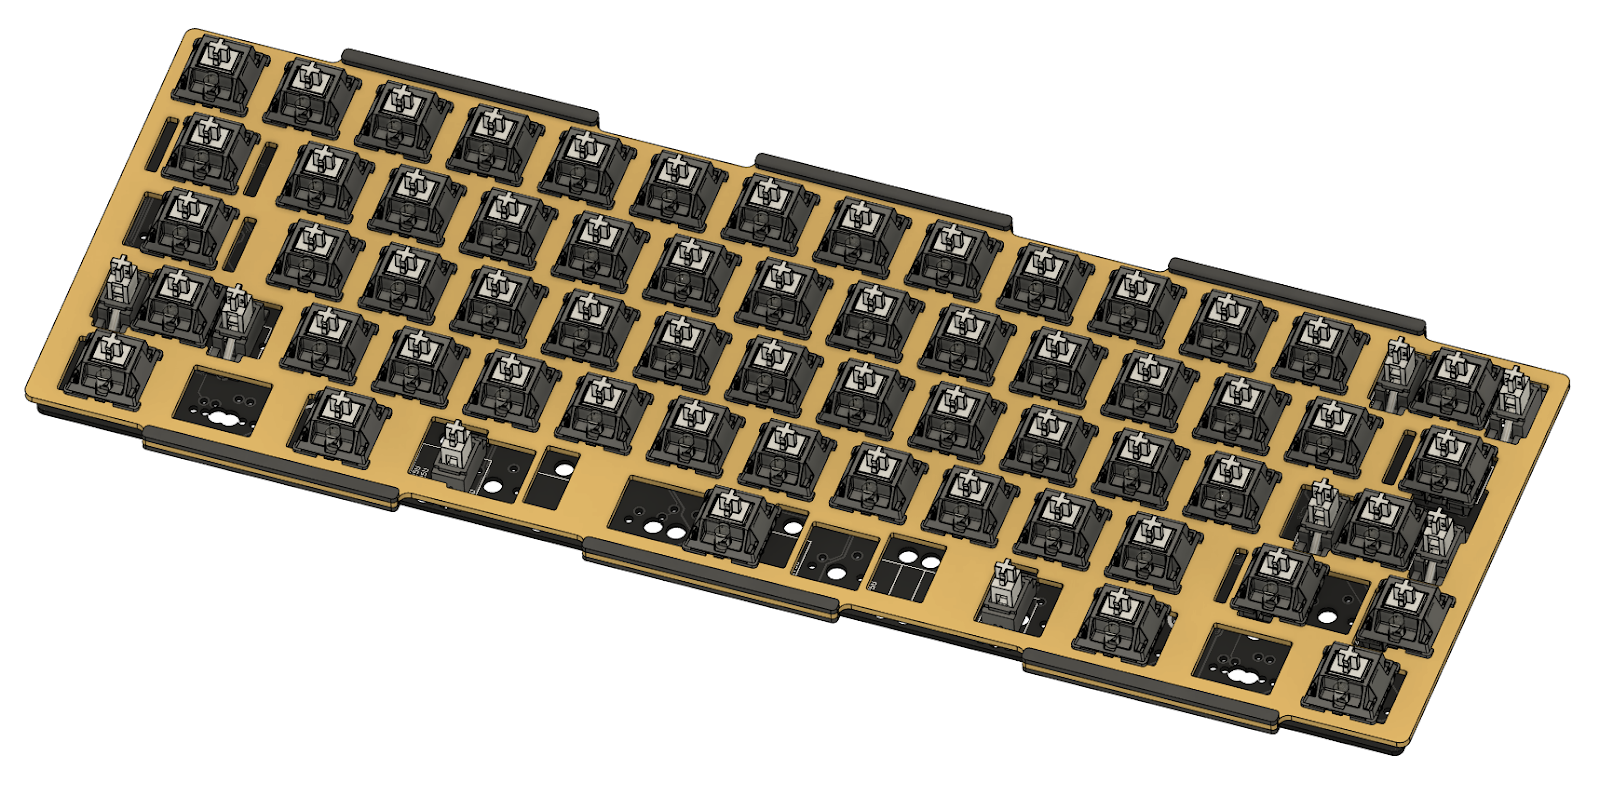
- At the end of this step, you should have a completed assembly of switches, stabilizers, plate, and PCB joined together.
The image below shows an example completed assembly.
- Open a keyboard tester (this works well) to check that the switches send keystrokes when pushed down.
Repair any missed or faulty joints as needed.
Note: By default, the key at the caps lock position is set as a function key, so it will not send a keystroke on its own. Holding caps and pressing 1 should send F1.


The structure is now ready for installation into the case.